YAML-Driven Terraform: Building a Self-Service Infrastructure Catalog
In this article
- The Problem with “Just Use Modules”
- Architecture: How It Works
- The Config Repository
- The IaC Repository
- The CI/CD Pipeline
- Why This Works Better Than Terraform Modules Alone
- Patterns We Have Learned
- One stack per resource type
- Use try() liberally for optional fields
- Flatten nested structures into keyed maps
- Merge tags from multiple sources
- Separate state per stack, per environment
- Getting Started
- What This Means in Practice
Every platform team hits the same wall. Application teams want cloud resources. They don’t want to learn Terraform. They want to fill in a form - or better, commit a YAML file - and get a working environment. Meanwhile, the platform team wants consistency, governance, and the ability to sleep at night.
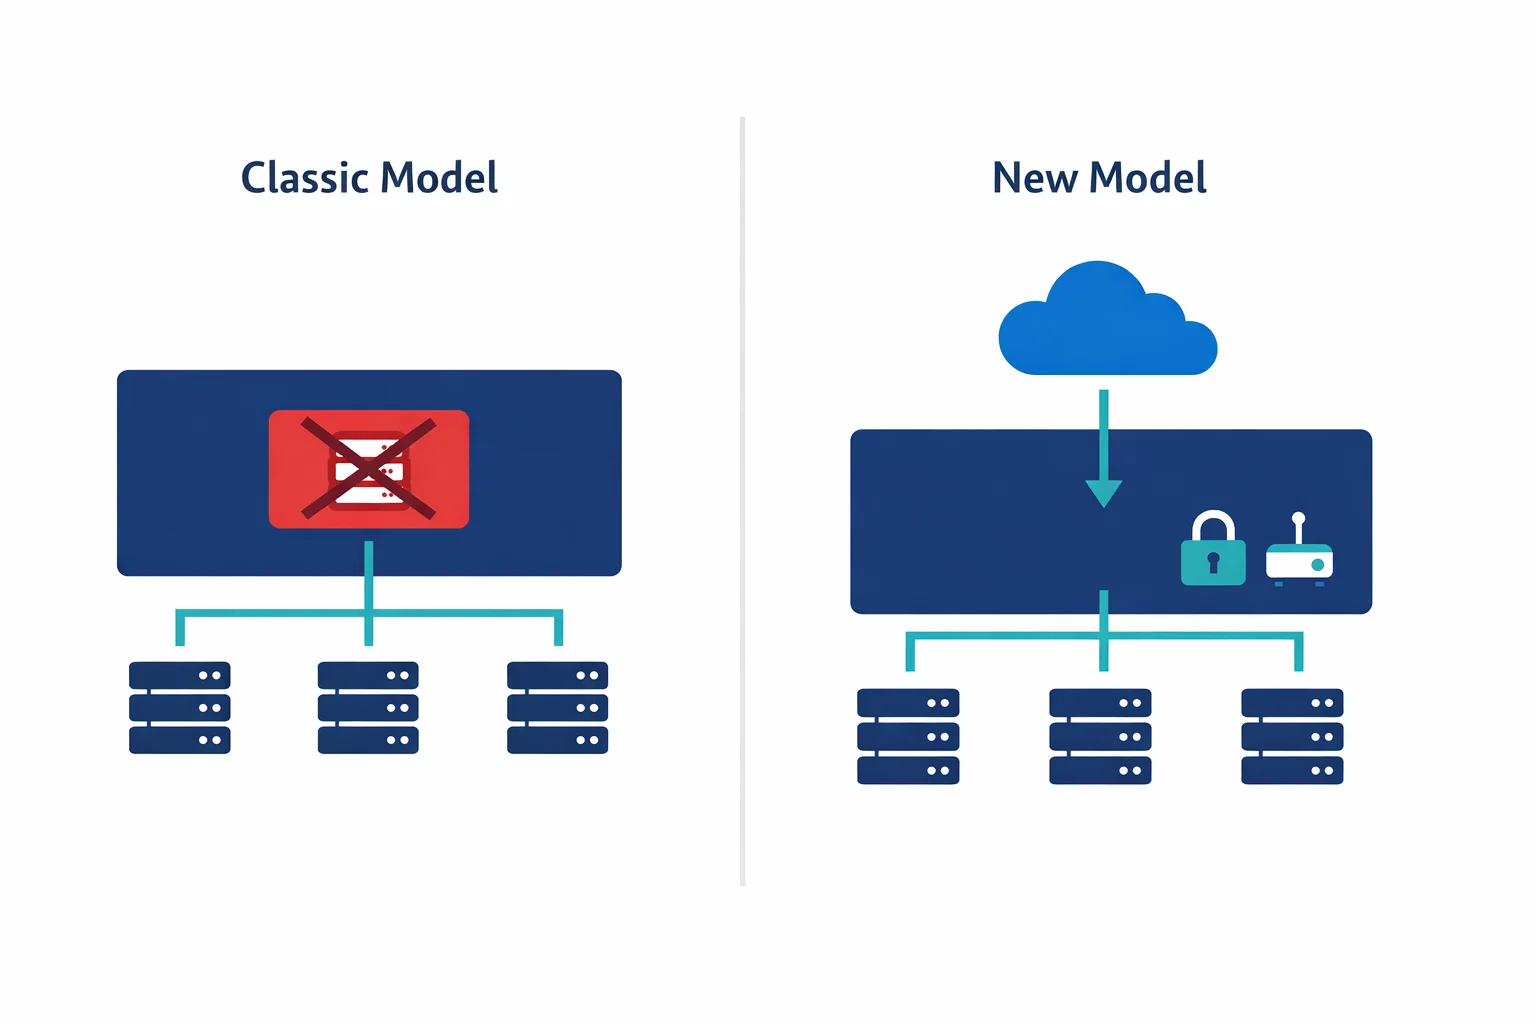
The usual answer is Terraform modules. You write reusable modules, document them, and ask teams to use them. This works for a while. Then you end up with 30 slightly different main.tf files across 30 repositories, each one a creative interpretation of your module documentation.
We have built a different approach for several enterprise clients: a YAML-driven infrastructure catalog. Infrastructure is defined entirely in YAML. Terraform reads the YAML, transforms it into resource maps, and applies the infrastructure. The platform team controls the stacks and the pipeline. Everyone stays in their lane.
The Problem with “Just Use Modules”
Terraform modules are the right building block, but they are the wrong interface for application teams. This is why:
- HCL is a barrier. Application developers think in YAML, JSON, or environment variables - not in
resourceblocks anddatasources - Copy-paste drift. When teams copy a Terraform root module and modify it, you get drift. Different backend configurations, inconsistent naming, forgotten tags
- Review bottleneck. If the platform team reviews every Terraform PR, you become the bottleneck. If you do not, you get surprises in production
- Upgrade pain. Updating a module version across 30 consumers means 30 PRs, 30 plan reviews, and 30 deployment windows
The YAML-driven approach solves all of these by separating what teams want from how it gets provisioned.
Related reading: Terraform module best practices · Azure CAF Terraform modules
Architecture: How It Works
The pattern has two repositories and a CLI tool that ties them together.
The Config Repository
This is where infrastructure is defined. A central service registry maps resource types to their config paths, and each resource type has its own directory with YAML files per environment:
# services.yml - the service registry
network_base:
  config_path: resources/network_base
keyvault:
  config_path: resources/keyvault
storage_account:
  config_path: resources/storage_account
virtual_machine:
  config_path: resources/virtual_machine
config/
├── services.yml # Service registry
└── resources/
├── network_base/
│ ├── dev/
│ │ └── platform.yml # Dev network config
│ └── prd/
│ └── platform.yml # Prod network config
├── keyvault/
│ ├── dev/
│ │ └── platform.yml
│ └── prd/
│ └── platform.yml
└── virtual_machine/
├── dev/
│ └── workstations.yml
└── prd/
└── app-servers.ymlThe YAML files aren’t abstract orders with a product reference. They are direct resource definitions - rich, detailed configurations that describe exactly what infrastructure looks like:
# resources/network_base/dev/platform.yml
vnets:
  - name: vnet-platform-dev-we-001
    resource_group: rg-network-dev-we-001
    location: westeurope
    address_spaces:
      - 10.10.0.0/16
    subnets:
      - name: snet-app-dev-we-001
        address_prefix: 10.10.1.0/24
        nsg: nsg-snet-app-dev-we-001
        route_table: rt-app-dev-we-001
        service_endpoints:
          - Microsoft.KeyVault
          - Microsoft.Storage
      - name: snet-data-dev-we-001
        address_prefix: 10.10.2.0/24
        nsg: nsg-snet-data-dev-we-001
        delegation:
          name: databricks
          service: Microsoft.Databricks/workspaces

nsgs:
  - name: nsg-snet-app-dev-we-001
    resource_group: rg-network-dev-we-001
    location: westeurope
    rules:
      - name: AllowHTTPS
        priority: 100
        direction: Inbound
        access: Allow
        protocol: Tcp
        source_prefix: VirtualNetwork
        destination_ports: ["443"]
      - name: DenyAllInbound
        priority: 4096
        direction: Inbound
        access: Deny
        protocol: "*"
        source_prefix: "*"
        destination_ports: ["*"]

route_tables:
  - name: rt-app-dev-we-001
    resource_group: rg-network-dev-we-001
    location: westeurope
    enable_bgp_route_propagation: false
    routes:
      - name: to-firewall
        address_prefix: "0.0.0.0/0"
        next_hop_type: VirtualAppliance
        next_hop_in_ip_address: "10.0.1.4"
This is what application teams submit in a pull request. It is easy to read, easy to review, and the schema is well-understood. No HCL knowledge needed.
The IaC Repository
The IaC repo contains one Terraform stack per resource type. Each stack follows the same structure:
iac/
└── tf/
    ├── network_base/
    │   ├── versions.tf
    │   ├── providers.tf
    │   ├── variables.tf
    │   ├── locals.tf      # YAML loading + transformation
    │   └── main.tf        # Resource definitions
    ├── keyvault/
    │   ├── ...
    ├── storage_account/
    │   ├── ...
    └── virtual_machine/
        ├── ...
The critical piece is locals.tf. This is where the YAML gets loaded, decoded, and transformed into resource maps that Terraform’s for_each can consume:
# tf/network_base/locals.tf

# Step 1: Load the service registry and config file
locals {
  services    = yamldecode(file("../../config/services.yml"))
  config_path = "../../config/${local.services[var.stack].config_path}/${var.env}/${var.file}.yml"
  config      = yamldecode(file(local.config_path))
}

# Step 2: Transform YAML lists into keyed maps for for_each
locals {
  vnets = { for v in try(local.config.vnets, []) : v.name => v }
  nsgs  = { for n in try(local.config.nsgs, [])  : n.name => n }
  rts   = { for r in try(local.config.route_tables, []) : r.name => r }
}

# Step 3: Flatten nested structures (subnets live inside vnets)
locals {
  subnets = {
    for s in flatten([
      for v in values(local.vnets) : [
        for sn in try(v.subnets, []) : merge(sn, {
          vnet_name      = v.name
          resource_group = v.resource_group
        })
      ]
    ]) : "${s.vnet_name}/${s.name}" => s
  }
}

# Step 4: Collect all referenced resource groups for data lookups
locals {
  rg_names = distinct(concat(
    [for v in values(local.vnets) : v.resource_group],
    [for n in values(local.nsgs)  : n.resource_group],
    [for r in values(local.rts)   : r.resource_group]
  ))
}

# Step 5: Platform-enforced tags
locals {
  tags = {
    catalog_env   = var.env
    catalog_file  = var.file
    catalog_stack = var.stack
    managedBy = "Terraform"
  }
}
Then main.tf uses for_each on these transformed maps:
# tf/network_base/main.tf

data "azurerm_resource_group" "rg" {
  for_each = toset(local.rg_names)
  name     = each.value
}

resource "azurerm_virtual_network" "this" {
  for_each = local.vnets

  name                = each.value.name
  location            = each.value.location
  resource_group_name = each.value.resource_group
  address_space       = each.value.address_spaces
  dns_servers         = try(each.value.dns_servers, [])

  tags = merge(
    data.azurerm_resource_group.rg[each.value.resource_group].tags,
    try(each.value.tags, {}),
    local.tags
  )
}

resource "azurerm_subnet" "this" {
  for_each = local.subnets

  name                 = each.value.name
  resource_group_name  = each.value.resource_group
  virtual_network_name = azurerm_virtual_network.this[each.value.vnet_name].name
  address_prefixes     = [each.value.address_prefix]

  service_endpoints = try(each.value.service_endpoints, [])

  dynamic "delegation" {
    for_each = try(each.value.delegation, null) != null ? [each.value.delegation] : []
    content {
      name = delegation.value.name
      service_delegation {
        name = delegation.value.service
      }
    }
  }
}
Notice: no child modules, no abstraction layers. The stack directly creates resources using for_each on the YAML-derived maps. The try() function handles optional fields with sensible defaults. This is deliberately simple - and that simplicity is the point.
Azure docs: Cloud Adoption Framework - Platform automation · Terraform on Azure best practices
The CI/CD Pipeline
The pipeline orchestrates stacks with explicit dependency ordering. Infrastructure resources have natural dependencies - you need resource groups before networking, networking before VMs - and the pipeline enforces this:
# azure-pipelines.yml (simplified)
parameters:
  - name: run_mode
    type: string
    default: plan
    values: [plan, apply, destroy]
  - name: env
    type: string
  - name: file
    type: string

stages:
  - template: templates/run_stack.yml
    parameters:
      stack: resource_group
      env: ${{ parameters.env }}
      file: ${{ parameters.file }}
      run_mode: ${{ parameters.run_mode }}
      dependencies: []

  - template: templates/run_stack.yml
    parameters:
      stack: network_base
      env: ${{ parameters.env }}
      file: ${{ parameters.file }}
      run_mode: ${{ parameters.run_mode }}
      dependencies: [resource_group]

  - template: templates/run_stack.yml
    parameters:
      stack: keyvault
      env: ${{ parameters.env }}
      file: ${{ parameters.file }}
      run_mode: ${{ parameters.run_mode }}
      dependencies: [network_base]

  - template: templates/run_stack.yml
    parameters:
      stack: virtual_machine
      env: ${{ parameters.env }}
      file: ${{ parameters.file }}
      run_mode: ${{ parameters.run_mode }}
      dependencies: [keyvault]
Each stack stage runs terraform init with the right backend key, then plan or apply depending on the run mode. The state key is derived from the stack, environment, and file name - giving you isolated state per deployment unit.
A CLI wrapper tool handles the plumbing: loading backend configuration, constructing the config path from the service registry, and calling Terraform with the right variables:
# Example: plan networking for the dev platform
tfcat plan --stack network_base --env dev --file platform

# Apply everything for production
tfcat apply --stack keyvault --env prd --file platform
Azure docs: Azure DevOps Pipelines with Terraform · Environment approvals and gates
Why This Works Better Than Terraform Modules Alone
You might be thinking: “just write better modules.” Fair point. The key differences with the YAML-driven approach:
- Separation of repos. The config repo is the interface. The IaC repo is the engine. Different teams, different review cycles, different release cadences
- No HCL for consumers. Teams that define infrastructure never see a
.tffile. They write YAML that describes what they want, not how to build it - Flat resource maps, not nested modules. Each stack uses
for_eachdirectly on resources. No module inception, no abstraction layers to debug through - Governance by schema. The YAML structure is the policy. You can’t order a VM size that isn’t in the config. You can’t skip tags. The shape of the YAML enforces the rules
- Audit trail. Every infrastructure change is a YAML diff in git. Who changed what, when, and why - all in commit history
Patterns We Have Learned
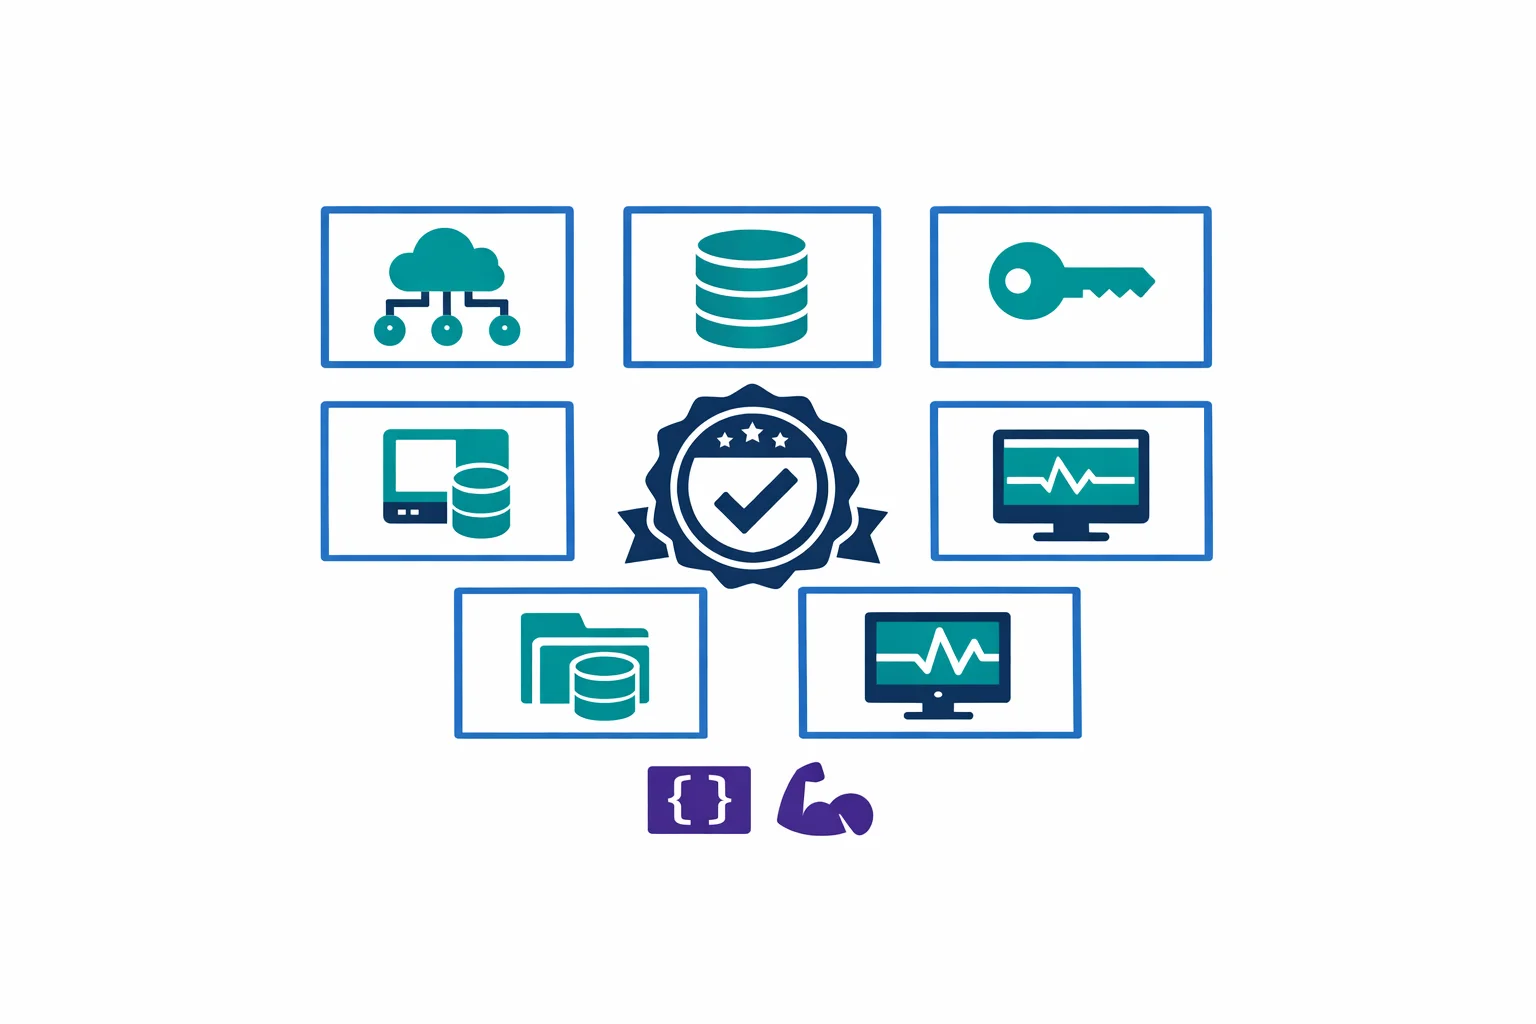
After building this for multiple clients across 30+ resource types, here are the patterns that matter:
One stack per resource type
Don’t bundle unrelated resources. A network_base stack handles VNets, subnets, NSGs, and route tables - things that are naturally related. But VMs and networking go in separate stacks with separate state files and separate pipeline stages.
Use try() liberally for optional fields
The YAML should only contain what needs to vary. Everything else gets a default via Terraform’s try() function:
dns_servers         = try(each.value.dns_servers, [])
enable_bgp          = try(each.value.enable_bgp_route_propagation, true)
private_ip_address  = try(each.value.private_ip_address, null)
This keeps the YAML configs clean. A simple subnet doesn’t need 20 fields - just the ones that differ from the default.
Flatten nested structures into keyed maps
YAML is hierarchical. Terraform’s for_each wants flat maps. The locals.tf transformation layer bridges this gap. Subnets live inside VNets in YAML but need to be a flat map for azurerm_subnet:
subnets = {
  for s in flatten([
    for v in values(local.vnets) : [
      for sn in try(v.subnets, []) : merge(sn, {
        vnet_name      = v.name
        resource_group = v.resource_group
      })
    ]
  ]) : "${s.vnet_name}/${s.name}" => s
}
This pattern works for any parent-child relationship: NSG rules inside NSGs, routes inside route tables, containers inside storage accounts.
Merge tags from multiple sources
Tags should come from three layers: the resource group (inherited), the YAML config (custom per resource), and the platform (automatic metadata). Merge them in that order:
tags = merge(
  data.azurerm_resource_group.rg[each.value.resource_group].tags,
  try(each.value.tags, {}),
  local.tags  # catalog_env, catalog_stack, managedBy, etc.
)
This gives you cost allocation, compliance tagging, and management metadata without trusting anyone to remember.
Separate state per stack, per environment
Each combination of stack + environment + file gets its own state file: tfstate/dev-platform-network_base.tfstate. This isolates blast radius. A failed VM deployment doesn’t lock or corrupt networking state.
Getting Started
You don’t need to build the full catalog on day one. Start with:
- Pick one resource type. Networking is usually the best first candidate - every environment needs it, and it has natural sub-resources (VNets, subnets, NSGs)
- Define the YAML schema. Write a sample YAML that describes your current environment. If the YAML is readable by a non-Terraform person, the schema is right
- Write the stack. One
locals.tfthat transforms YAML to maps. Onemain.tfthat creates resources withfor_each. Keep it flat - Add a pipeline. Start with plan-only. Add apply after you trust the pattern
- Expand. Add resource types as demand grows. Each new stack follows the same pattern: YAML → locals → resources
The teams that succeed with this approach start small, prove the pattern works, and expand organically. The teams that fail try to build a platform for every possible use case before anyone has submitted a single YAML file.
Azure docs: Azure landing zone Terraform modules · Terraform state management
What This Means in Practice
A YAML-driven infrastructure catalog isn’t a framework or a product you install. It is a pattern - a way of organizing your Terraform codebase that separates configuration from implementation.
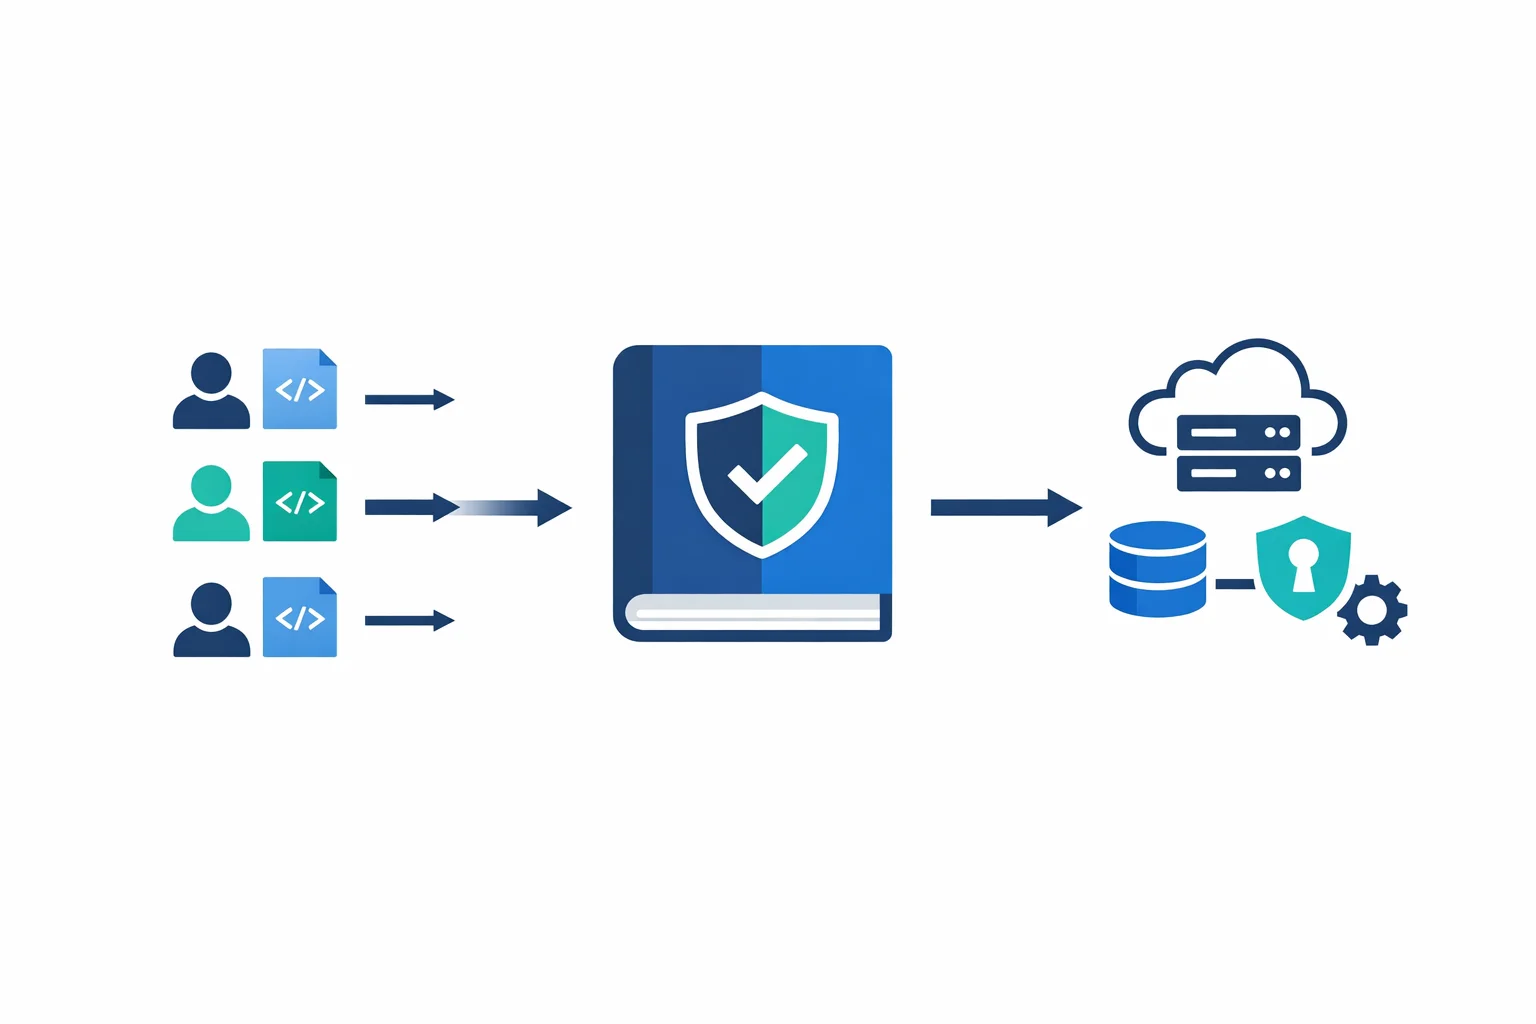
The platform team owns the stacks: the Terraform code, the pipeline, the CLI tooling. Application teams own the config: YAML files that describe what they need, in which environment, with what settings. The YAML boundary between them is the contract.
This pattern has saved our clients weeks of back-and-forth per quarter. More importantly, it turns infrastructure provisioning from a ticket-based process into a self-service workflow - without sacrificing governance or traceability.
Your platform team has better things to do than reviewing copy-pasted Terraform modules. Give them a catalog instead.
Related: Bicep vs Terraform: Why We Default to Terraform (and When Bicep Wins) explains our thinking on when to use Terraform and when Bicep is the better choice.
Ready to automate your infrastructure?
From Infrastructure as Code to CI/CD pipelines, we help teams ship faster with confidence and less manual overhead.